

I have a confession. For two years I bought vinyl wall signs at craft fairs because I was convinced I would ruin them if I tried to make my own. Then a friend let me borrow her cutting machine for a weekend, and I learned that the hard part was never the cutting. The hard part was knowing the order of the steps. Once I had the order down, I made a sign for the entryway in one afternoon. This is the process I now use every time, and it is the one I would hand to anyone who just unboxed a Cricut Joy Xtra and wants a finished sign on the wall by dinner.
Before I get into the steps, a note about the machine itself. The Cricut Joy Xtra is Cricut's compact cutting machine, and it works with 50+ materials including vinyl, iron-on HTV, cardstock, and stickers. It is also compatible with an inkjet printer for full-color Print-Then-Cut projects, and the bundle I have includes a Fine-Point Blade, a Fine Point Pen, a Mini Weeder, a Welcome card, a USB cable, and a power adapter. That Mini Weeder is not a gimmick. You will use it on every single project.
Ready to cut your first wall sign tonight?
The Cricut Joy Xtra comes with the blade, pen, weeder, and cable you need to start. Check today's price on Amazon before you shop for supplies.
Amazon Check Today's Price on Amazon →Step 1: Measure the wall and design the sign in the app
Grab a tape measure and figure out the width of the space where the sign will live. I put a sign reading Welcome above the bench in our entryway, and the wall between the door frame and the corner is 36 inches wide. That measurement told me my design should be no wider than 24 inches, which gave me a comfortable margin on both sides. Write the number down. It will save you from designing something gorgeous that cannot possibly fit.
Open the Cricut design app on your tablet or phone. The Cricut Joy Xtra is compatible with computers, tablets, and smartphones, so you can design in the room where the sign will hang. Pick a font that is thick enough to weed. Script fonts look beautiful on the wall, but thin swirly letters are miserable to weed, especially the first time. I use a rounded serif or a clean block script with letters at least 3 inches tall. At that size, the inside of an 'e' or an 'a' is big enough to get the weeder into without tearing.
When you are happy with the design, resize it to your measured width and mirror it. Mirroring is the step everyone forgets, including me on my first project. Vinyl is cut face down on the mat, so if you do not mirror the design, your sign will be backwards on the wall. The app has a mirror toggle right on the Make screen. Use it. Your future self will thank you.
Step 2: Cut the vinyl with the Fine-Point Blade
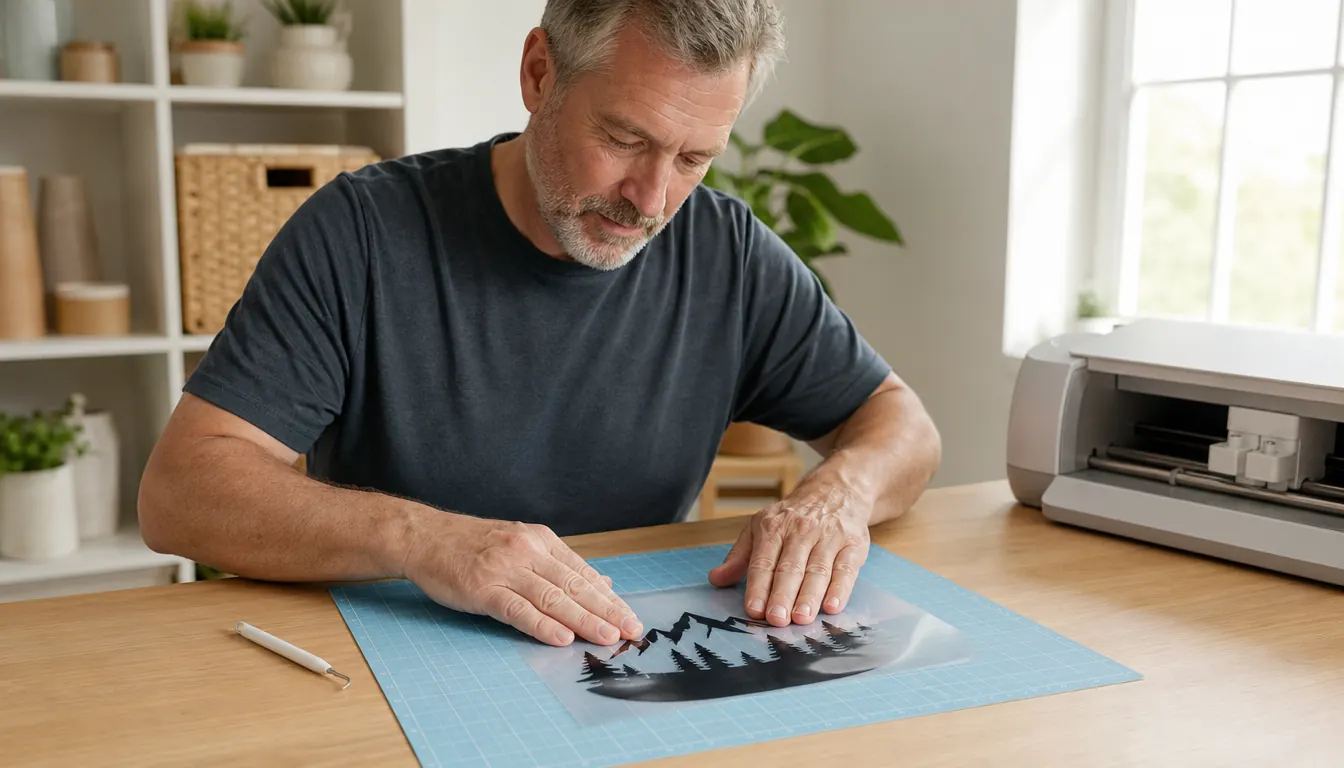
Load a piece of vinyl onto a standard grip cutting mat. The Cricut Joy Xtra has an active surface area of 95.94 square inches, which is enough for a 24-inch-wide sign in most fonts. Smooth the vinyl down with your hand or a scraper tool so there are no bubbles or lifted corners. A lifted corner will drag through the machine and shift the cut, and a shifted cut on a word is not something you can fix with a scraper.
Tell the app what material you are using and let the machine do the work. The Cricut Joy Xtra operates in automatic mode, which means it reads the material settings from the app and adjusts the cut pressure and speed for you. You do not dial in blade depth or guess at pressure. That was the part I was most nervous about, and it turned out to be the part I did not have to think about at all.
While the machine cuts, resist the urge to watch it the whole time. I stand there anyway, every single time, because watching the blade trace the letters is deeply satisfying. The machine takes about a minute or two for a typical word. When it finishes, unload the mat and check the cut by peeling back a corner of the vinyl. If the letters lift cleanly from the backing, you are ready to weed. If they do not, run the cut again before you remove anything from the mat.
Step 3: Weed the design with the Mini Weeder
Weeding is the step that separates people who enjoy vinyl from people who give up on it. The good news is that the Cricut Joy Xtra bundle includes a Mini Weeder, and it is the right tool for the job. Start at one end of the design and gently lift the excess vinyl away from the letters. Work slowly. The weeder tip is sharp enough to lift a tiny piece of vinyl without scratching the backing, but it will also happily scratch your finger if you are not paying attention. Ask me how I know.
Here is the tip that changed everything for me: weed the insides of letters first. The little counters in an 'e', an 'a', an 'o', or a 'g' are the easiest pieces to lose, because they are small and they blend into the rest of the waste vinyl. Pick them out first while the design is still fully supported by the surrounding vinyl. Then weed the big background areas. By the time you are done, the letters themselves are the only vinyl left on the backing, and they are exactly where you want them.
If a letter tears while you are weeding, do not panic. Cut that one letter again on a scrap piece of vinyl and weed it separately. You can place it onto the transfer tape later, before you move the whole design to the wall. I have done this exactly once, and the repair was invisible from three feet away. Nobody has ever walked into my house and said, 'Marlene, is that a patched letter?'
Step 4: Apply transfer tape and burnish
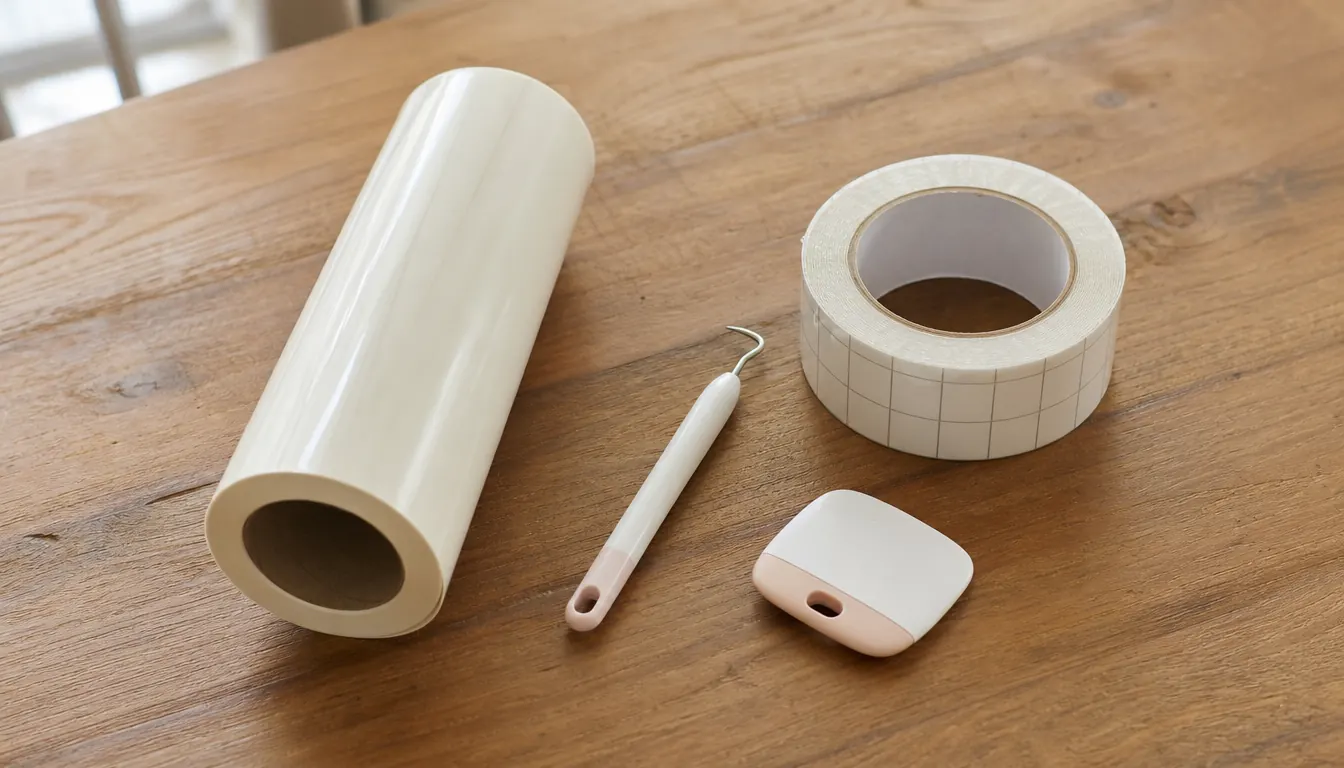
Cut a piece of transfer tape slightly larger than your design. Peel the backing off the transfer tape and lay it sticky side down over the weeded vinyl. Press it down with your hand first, then go over the whole design with a scraper tool. This is called burnishing, and it is what makes the vinyl release from its backing and stick to the transfer tape. You want to see the letters change color slightly as the tape grabs them. That color change is how you know the vinyl is ready to lift.
Lift the transfer tape slowly from one corner. The vinyl letters should come up with it, stuck to the tape in the exact positions you weeded. If a letter stays behind on the backing, lay the tape back down, burnish that spot again, and lift once more. Do not try to pull the letter up by hand and press it onto the tape. That is how letters end up crooked.
Trim the transfer tape close to the design, leaving about half an inch of tape around the edges. This gives you a clean rectangle to position on the wall, and it means the tape does not grab the wall outside the design. Extra tape on the wall is extra tape that can pull your letters off when you peel it away.
Step 5: Position, press, and peel
Hold the transfer tape up to the wall where the sign will go. Use a small level if you have one, or step back and eyeball it against the ceiling line. I have hung enough crooked pictures to know that the level is worth the thirty seconds. When the design is straight, tape the top edge of the transfer tape to the wall with painter's tape. This creates a hinge, so you can swing the design up and check the position before you commit.
Press the design onto the wall from the center outward. Use your scraper tool or the side of your hand, and work from the middle toward the edges so you do not trap air bubbles under the vinyl. Then peel the transfer tape away slowly, at a low angle, pulling the tape back over itself. If a letter tries to come off the wall with the tape, press it back down and peel that section more slowly. The vinyl should stay on the wall and the tape should come away clean.
Run your finger over the letters one more time to make sure every edge is pressed down. Then stand back and admire your work. The first sign I made this way took me the better part of an afternoon. The second one took about an hour. By the third, I had the whole process down to a routine, and now I make signs for every season: a pumpkin for October, a snowflake for December, a simple 'Gather' for the rest of the year.
What Else Helps
A few supplies make the difference between a frustrating afternoon and a smooth one. A standard grip cutting mat keeps the vinyl from shifting while the machine cuts. A scraper tool burnishes the transfer tape and presses the vinyl onto the wall, and you can also use it to smooth out air bubbles. Painter's tape holds the transfer tape in place while you position the design, and it will not pull paint off the wall. And keep a pair of small scissors handy for trimming transfer tape. You do not need a drawer full of specialty tools. You need the Mini Weeder that comes in the box, a mat, transfer tape, and vinyl.
One more thing that helps is a clean wall. Wipe the wall with a damp cloth and let it dry before you press the vinyl on. Dust and grease are the enemies of adhesion, and a quick wipe takes less than a minute. I learned this the hard way when a sign fell off the wall in the kitchen three days after I hung it, because the wall above the stove had a fine layer of cooking oil on it. The second attempt, on a clean wall, has been up for eight months.
The first sign I made with the Cricut Joy Xtra took me most of an afternoon. The third one took about an hour, and it has been hanging in my entryway for eight months.
Your first wall sign is one afternoon away
The Cricut Joy Xtra bundle includes the blade, pen, weeder, cable, and power adapter you need to start. Grab the machine and a roll of vinyl, and you are ready to make something for your own walls.
Amazon Check Today's Price on Amazon →