
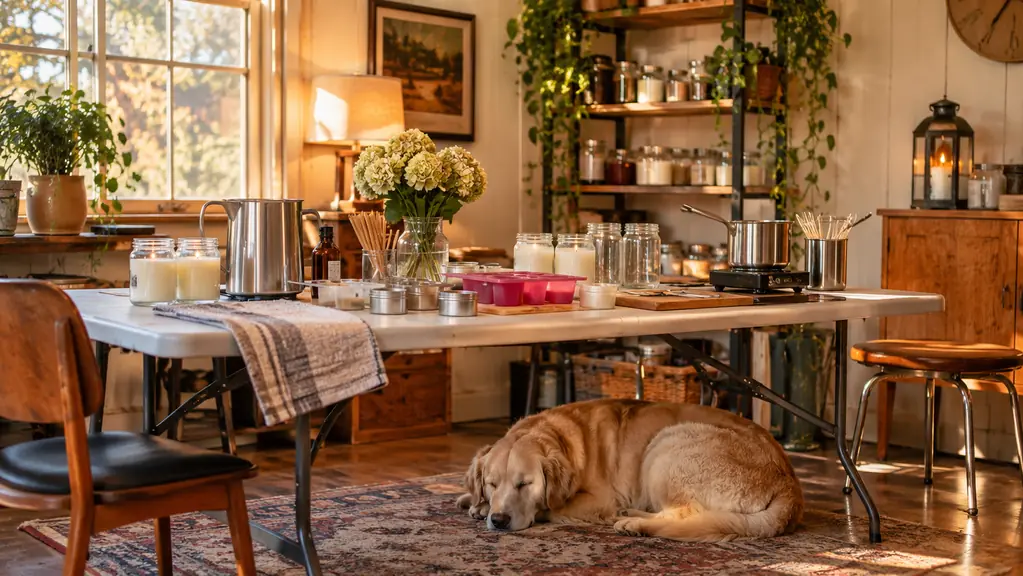
I have made a lot of craft kits over the years. Some turned out exactly like the picture on the box. Some turned out like something the cat dragged in. So when the SoftOwl Candle Making Kit showed up at my door, I was hopeful but realistic. Making candles is one of those projects that looks simple on a YouTube video and gets a lot less simple when you are standing at the kitchen table with melted wax cooling in a pot you did not think to preheat. This is my honest review of the SoftOwl Candle Making Kit after actually using it, the good parts, the frustrating parts, and who I think will love it.
The Quick Verdict
A genuinely nice kit for a beginner who wants pretty, giftable candles and does not mind a bit of trial and error on the first pour.
Amazon Check Today's Price →Want to see today's price on the SoftOwl Candle Making Kit?
If you are already sold and just want to check the current price before you commit, here is the fastest way to do it.
Amazon Check Today's Price on Amazon →What You Actually Get in the Box
Let me start with what surprised me most: the SoftOwl kit is generous. The listing says it includes packs of soy wax, black candle jars, tin cans, seven fragrance oils, ten dye blocks, labels, wicks, and glue, and that is exactly what arrived. No missing pieces, no crushed jars, nothing that made me wonder if I had ordered a different item. The box itself is sturdy and pretty enough that you could give it as a gift without wrapping it, which is rare.
I opened the box on a Tuesday afternoon when the mail ran early, and I did a little inventory dance right there on the kitchen linoleum. Everything from the listing was in there, down to the last dye block. I lined the seven fragrance oils up on the counter and sniffed each one like I was at a perfume counter, and every single one smelled like something I would actually want burning in my house. That does not always happen with craft kits. Sometimes you get one good scent and five that smell like a candle shop's back room. I also checked the wicks against the jars, because I am old enough to know that kit pieces do not always match, and they fit fine. The labels are plain but tasteful, and there are enough of them for every jar in the box. The tin cans went into a drawer for the second batch, and they worked exactly the way the instructions said.
The soy wax comes in packs rather than one giant block, and that turned out to be a small blessing. It melts faster in smaller pieces, and I could measure out just what I needed for one jar instead of guessing. The seven fragrance oils gave me room to experiment. I made one batch with a floral scent for my sister-in-law and one with something warmer for the living room. The ten dye blocks meant I never had to wash out a dropper between colors. I just used a fresh block.
Now for the part nobody puts in the listing photos: the black jars are smaller than they look on screen. That is not a complaint, exactly. It is just the kind of thing you only learn when the jar is sitting in your hand. They are perfect for a first candle, and they look lovely lined up on a shelf, but if you pictured big chunky candles for your mantle, adjust your expectations.
How I Used It, Step by Step
I cleared off the kitchen table, which is where I always start even though I have a perfectly good craft room. Old habits. I set out the wax, the jars, the wicks, and the fragrance oils, and I read the instructions twice. The instructions are not the most detailed I have ever seen. They assume you know a few basics, like what a double boiler is and why you should not walk away from melting wax. If you have never melted wax in your life, watch one video first and you will be fine.
I melted the soy wax in a small pouring pot I already owned. The kit does not come with a melting pot, and that is worth knowing before you start. You can melt wax in a clean tin can set in a pan of simmering water, which is probably why the kit includes tin cans. I used the tin can method for my second batch and it worked fine, just a little slower.
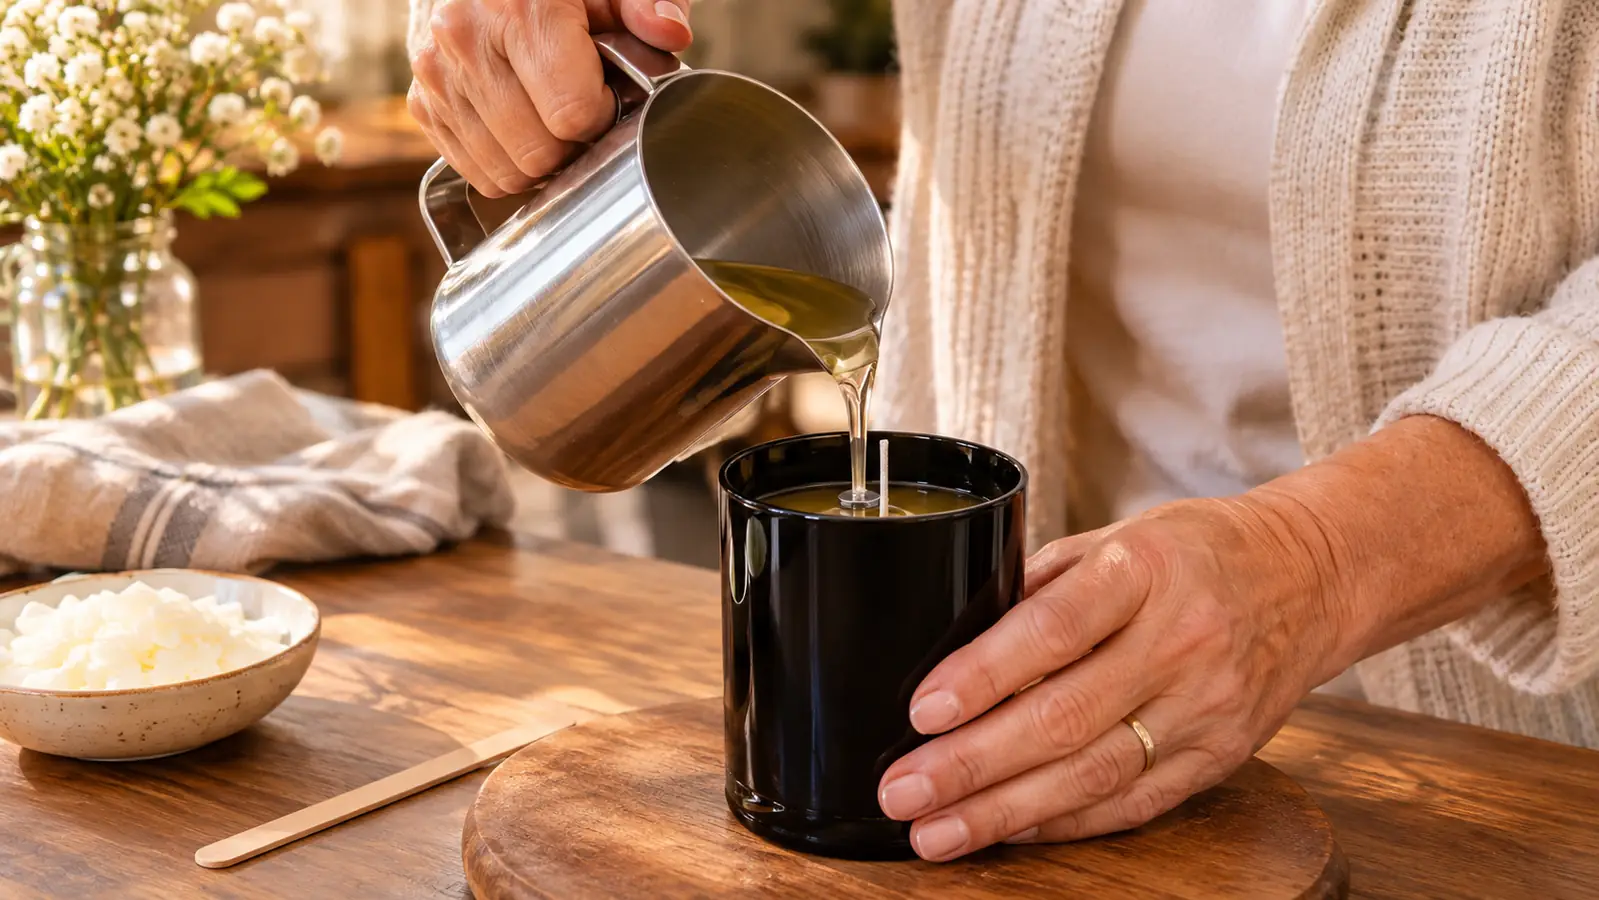
Once the wax was melted, I added a few drops of fragrance oil and stirred in a sliver of dye block. Then I poured. The pour is the moment that separates a good candle from a lopsided one. I tipped the pot too fast on my first jar and got wax up the side. It hardened that way, and there is no un-hardening it. My second jar came out clean because I poured slowly and left a little room at the top for the wick.
I made my first batch on a Saturday morning in early March, and I learned two things that day. The first is that a cold kitchen makes for slow melting. The wax took its time on the stove because the room was maybe sixty-eight degrees, and melted wax cools fast when the air around it is cool. The second is that you should pour in the same room where the candles will set. I carried my first jar from the kitchen to the craft room, and the warm wax sloshed and left a ring I could not smooth out. My second pour I did right where the candle would live, slowly, with the pot tilted just a little, and it set clean. I wrote that lesson on a sticky note and stuck it to the pegboard in the craft room, which is where I keep all the lessons that cost me a project.
The wicks are the part I want to warn you about. They are the kind that come with a little metal tab at the bottom, and you are supposed to glue them to the bottom of the jar before you pour. I did not read that part carefully enough the first time. My wick floated. I had to wait for the wax to cool, fish it out, and start over. Once I glued it properly, it stayed put. Read that sentence twice. Glue the wick.
What Nobody Tells You About Candle Making
Here is the honest part. Candle making is not a twenty minute project. It is a three hour project with a lot of waiting in the middle. You melt, you pour, you wait for the wax to set, and you wait some more. The SoftOwl kit does not rush this for you, and no kit can. If you are the kind of person who likes instant gratification, pour the candles in the morning and plan to admire them after dinner.
I timed my first batch, because that is the kind of thing I do. The melting took about twenty minutes. The pouring took maybe five. The waiting took a good two and a half hours before the candles were solid enough to move, and another full day before I trusted them to burn. So the project is less about the doing and more about the patience. I have learned to start a batch in the morning, clean up the kitchen, run my errands, and come back to candles that are ready for their labels. That rhythm works for me, and it makes the waiting feel like part of the day instead of a punishment. The other thing I learned is that the wax sets from the outside in. The top can look solid while the middle is still soft, so do not judge by the surface. Give it the full time, then give it a little more.
The second thing nobody tells you is that your first candle will probably not be perfect. Mine was not. The top of my first candle set with a little crater around the wick, which happens when the wax cools unevenly. It still burned fine. It still smelled lovely. But if you are a perfectionist, know that going in and give yourself permission to call the first one practice.
The third thing is the mess. Melted wax finds every crack in your table. I keep a layer of newspaper down now, and I still managed to get wax on my sleeve. It scrapes off counters easily once it hardens, and it comes out of fabric in the wash, so it is not a disaster. But it is a real part of the project, and I would rather tell you now than have you discover it.
The wick floated on my first jar because I skipped the glue step. Read the instructions twice. Glue the wick.
How the Candles Actually Burned
The real test of a candle is not how it looks in the jar. It is how it burns. I lit my first SoftOwl candle about three days after I made it, once the wax had fully cured. The burn was even, the scent was noticeable but not overpowering, and the flame stayed centered because the wick was glued in place. I let it burn for about two hours the first time, which is what the instructions recommend for an even melt pool.
I kept a little log, because that is also the kind of thing I do. My first candle burned for about twenty hours total, spread over maybe six evenings. The melt pool stayed level, and the wick never mushroomed into that ugly black cap you see on cheap candles. The scent got a little stronger on the second and third burns as the fragrance oil worked its way up through the wax, which surprised me. I expected the opposite, for the scent to fade as the candle got lower. By the fourth evening, the candle was about halfway down and still burning clean, and I had already started planning my next batch with a different scent. The one thing I would tell a friend is to trust the first burn. Two hours feels like a long time to wait, but that first long burn is what sets the melt pool, and it made every burn after that easier.
The second candle, the one with the crater on top, burned just as well. That crater evened itself out after the first burn. So if your first candle is not perfect, light it anyway. It will probably fix itself.
One thing I noticed: the scent is not as strong as a store bought candle with a big cold throw. The fragrance is there, especially when the candle is lit, but it is gentle. If you want a candle that fills the whole room, you may want to add a few extra drops of the fragrance oil. If you want a subtle background scent, the kit's default amount is just right.
The Pros and Cons, Plain and Simple
What I Liked
- Generous kit with seven fragrance oils, ten dye blocks, jars, wicks, labels, and glue
- Soy wax melts fast and cleans up easily
- Jars are the perfect size for a first candle or a small gift
- The box is pretty enough to give as a gift on its own
- A real 1 year warranty from SoftOwl
- Endless combinations of scents and colors to experiment with
Where It Falls Short
- No melting pot included, you need to supply your own or use the tin can method
- Instructions assume some basic knowledge
- The jars are smaller than they look in the listing photos
- Your first candle will probably have a small flaw, plan for it
- The scent throw is gentle, not room filling
- You have to wait hours for the wax to set before you can light it
Who This Is For
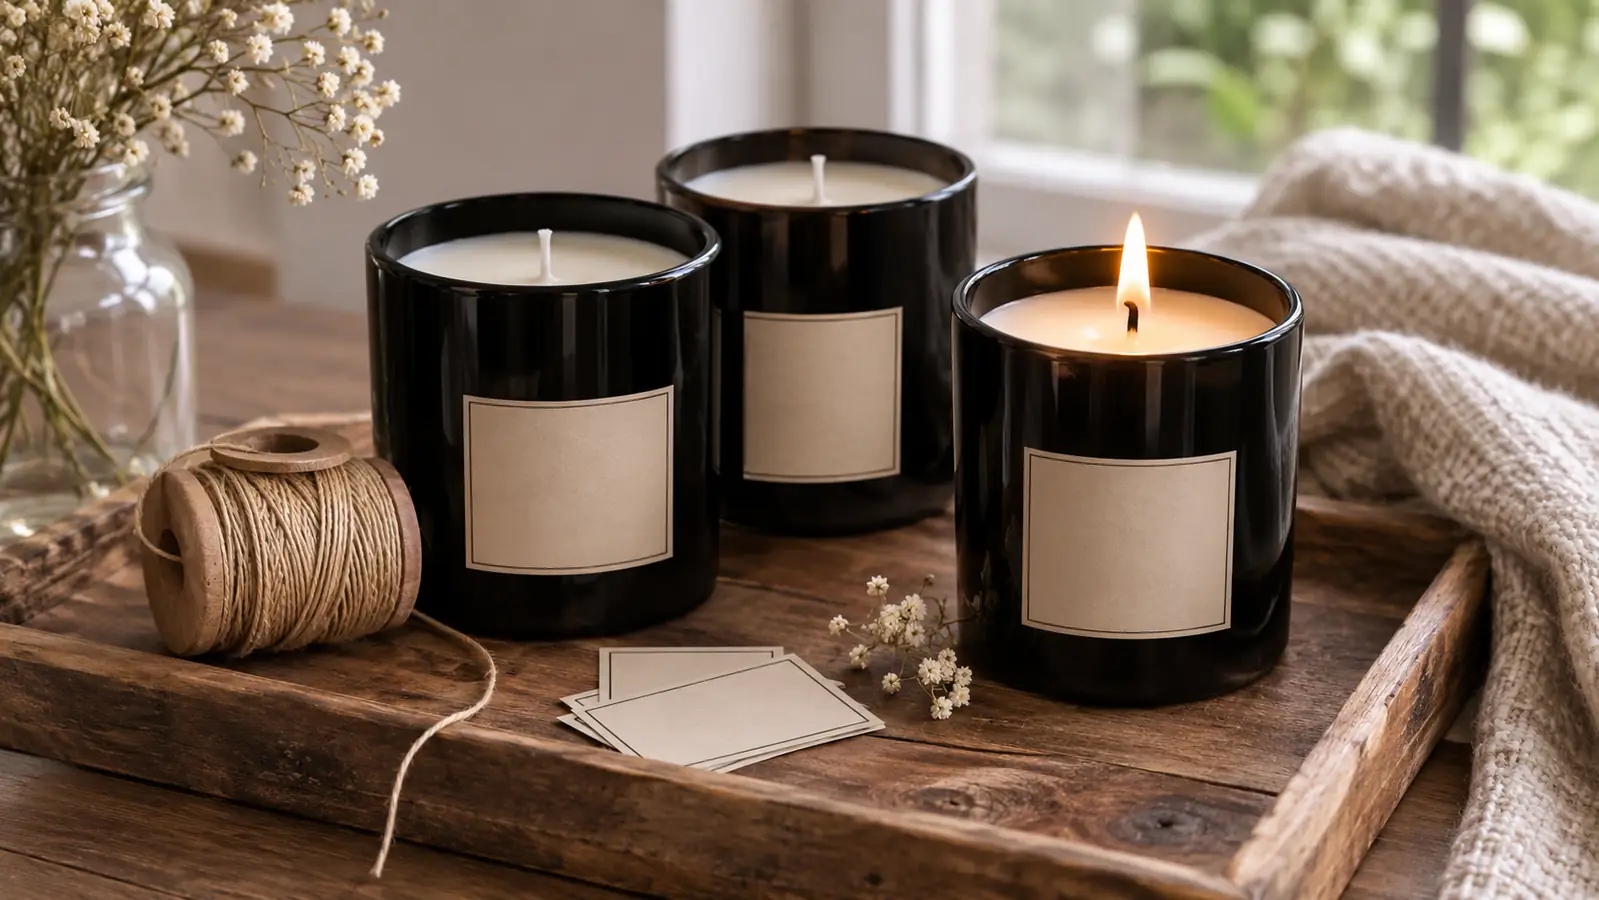
The SoftOwl Candle Making Kit is for the person who wants to make something with their hands and does not need it to be perfect the first time. It is for the woman who has a craft room full of half finished projects and wants one that actually gets finished. It is for the grandmother who wants a meaningful activity to do with a visiting teenager. It is for the person who gives homemade gifts and wants something that looks like it came from a boutique, not a box.
It is also for anyone who likes a kit that gives you choices. Seven scents and ten dye colors means you are not locked into one look. I made a floral candle for my sister-in-law and a warm amber one for my own living room, and they looked like two completely different products from two completely different stores. That variety is the real value here.
Who Should Skip It
If you are looking for a big statement candle for your mantle, skip this one. The jars are small, and no amount of dye is going to change that. If you hate waiting, skip it. The wax needs hours to set, and there is no shortcut. If you want a candle that fills a large room with scent, you will be disappointed by the gentle throw. And if you are buying this for someone who has never melted wax and will not read instructions, choose something else, because gluing the wick is the one step that matters.
I would also tell you to skip it if you expect the finished candles to look exactly like the professional photos in the listing. They can, with practice. Mine looked genuinely nice by the third pour. But the first one had a crater and a wax drip, and I want you to know that before you buy, not after.
Alternatives I Considered
I looked at buying the supplies separately, the way some crafters prefer. You can absolutely buy soy wax, jars, wicks, and fragrance oils on their own, and if you already have a melting pot and a thermometer, that might be the cheaper road. But for a first kit, the SoftOwl bundle saves you the headache of figuring out which wicks fit which jars and how much wax one jar actually needs. Everything in the box is matched to everything else, and that is worth something.
I also considered a kit with a melting pot included. Those kits cost more and take up more storage space. For me, the tin can method worked fine, and I already had a pouring pot. If you have nothing to melt wax in, factor that into your decision before you order.
The Bottom Line
The SoftOwl Candle Making Kit is a good kit, and I say that as someone who has been burned by plenty of craft kits. It is generous, it is pretty, it makes real candles that actually burn, and it gives you enough scents and colors to make the project feel like yours. It is not a magic box that turns you into a professional candlemaker in one afternoon. It is a solid, honest starting point, and the candles you make with it will be a genuine point of pride.
If you are ready to try it, the button below will take you to today's price on Amazon. And if you make a crater in your first candle, light it anyway. It will even out, and you will have a story to tell.
Ready to pour your first candle?
Check today's price on the SoftOwl Candle Making Kit and see all seven scents before you decide.
Amazon Check Today's Price on Amazon →