
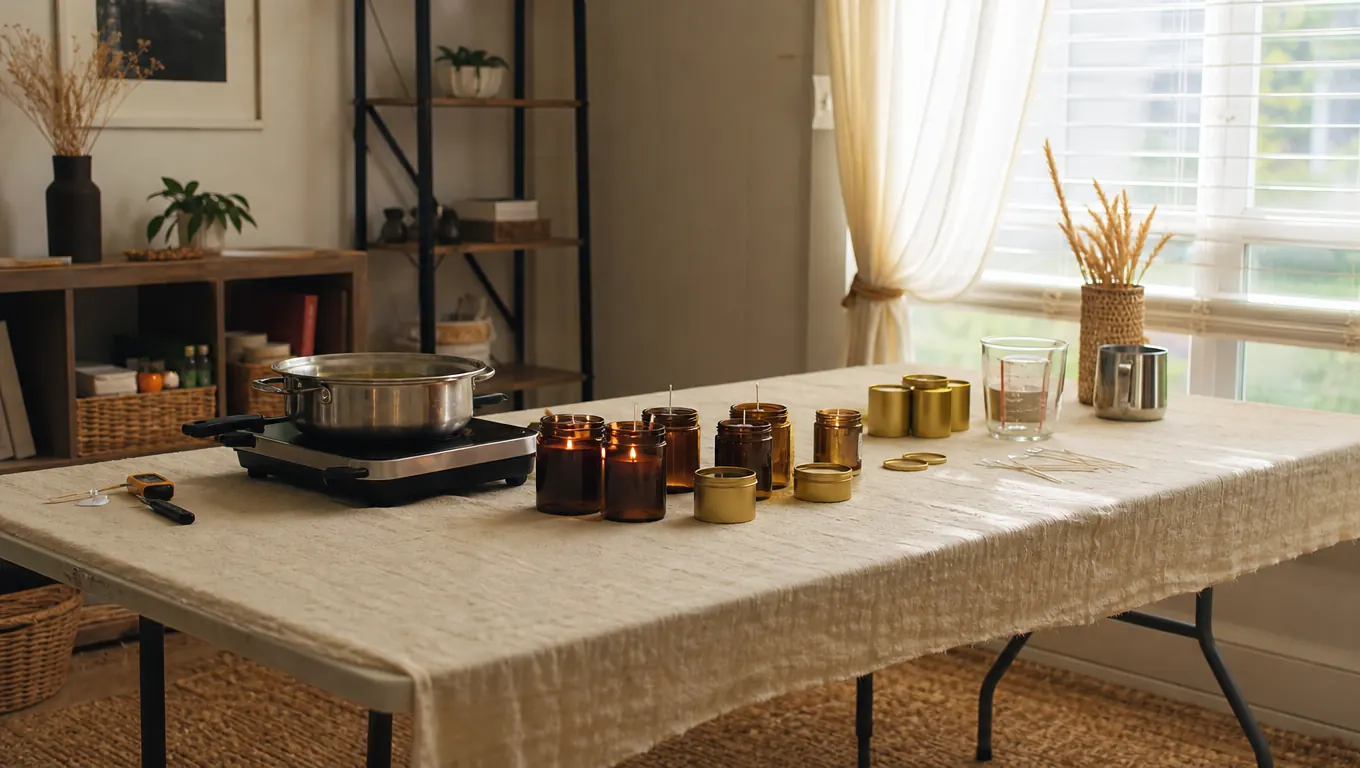
For years, candles were the one thing I bought instead of made. I could paint a dresser, wire a wreath, even reupholster a chair, but a candle that burned evenly and smelled like something other than a gas station? That felt like a factory job. Then my daughter sent me the SoftOwl Candle Making Kit for my birthday, and I found out the factory job is really just a pour, a wait, and a label. This is the honest walk-through of my first batch, including the parts I got wrong, so you can skip the mess and get to the part where your kitchen smells like vanilla and your gift list starts shrinking.
I have been crafting for about 25 years, mostly at the folding table in my spare room, and I have a rule: if a kit needs me to buy half the supplies before I can start, it stays in the cart. The SoftOwl kit arrived in a big giftable box with everything inside: packs of soy wax, candle jars, tin cans for melting, seven fragrance oils, ten dye blocks, wicks, glue, and labels. The only things I added were a pan of water and an old towel. That is my kind of project.
Pour your first batch this weekend, no extra shopping trip required
The SoftOwl kit has the wax, jars, wicks, scents, and labels you need to finish a full set of candles in one afternoon. Check today's price on Amazon and see if it fits your craft budget.
Amazon Check Today's Price on Amazon →What's in the Box
Before I get to the steps, here is what you are actually working with. The kit is built around soy wax, which melts at a lower, more forgiving temperature than paraffin, and it is the reason my first batch did not end in a burned kitchen. You get enough wax for a full set of candles, the jars themselves, tin cans that double as melting cups, seven fragrance oils, ten dye blocks, wicks, glue, and a sheet of labels. SoftOwl also lists a one-year warranty, which is more than I expected from a craft kit.
A note on the jars, since this is the detail nobody tells you: the set is listed as large, and the jars are a comfortable size for a first pour. You are not making giant pillar candles here. You are making the kind you set next to the lamp and actually finish, which is exactly the right size to learn on. The style is modern-rustic, so they look at home on a windowsill or a mantel next to the wreaths I make every fall.
Step 1: Set Up Your Table and Round Up the Household Stuff
The first thing I did was clear the folding table and cover it with an old vinyl cloth, the kind I keep for spray paint. You will spill wax, you will drop dye, and you will be glad you did not do this on the good table. I also moved Biscuit's bed out of the craft room for the afternoon. He usually sleeps under the table while I work, but hot wax and a curious beagle mix do not mix, and he has a talent for finding whatever is on the floor.
Next to the cloth I set a pan of water from the kitchen, about two inches deep, on a hot plate. The tin cans from the kit are your melting cups, and they sit in the water bath the same way you would melt chocolate. That is the whole trick: the wax never touches the pan directly, so it cannot scorch. I also laid out a butter knife, a fork I do not use for food, and a roll of paper towels. You will want all three.
One thing I learned the hard way: open the fragrance oils and dye blocks before you melt anything. The little bottles can be stubborn, and the last thing you want is to be wrestling a lid while your wax is sitting at pouring temperature. Set everything out, read the labels, and then start the heat. Ten minutes of setup saves twenty minutes of scrambling.
Step 2: Melt the Soy Wax Low and Slow
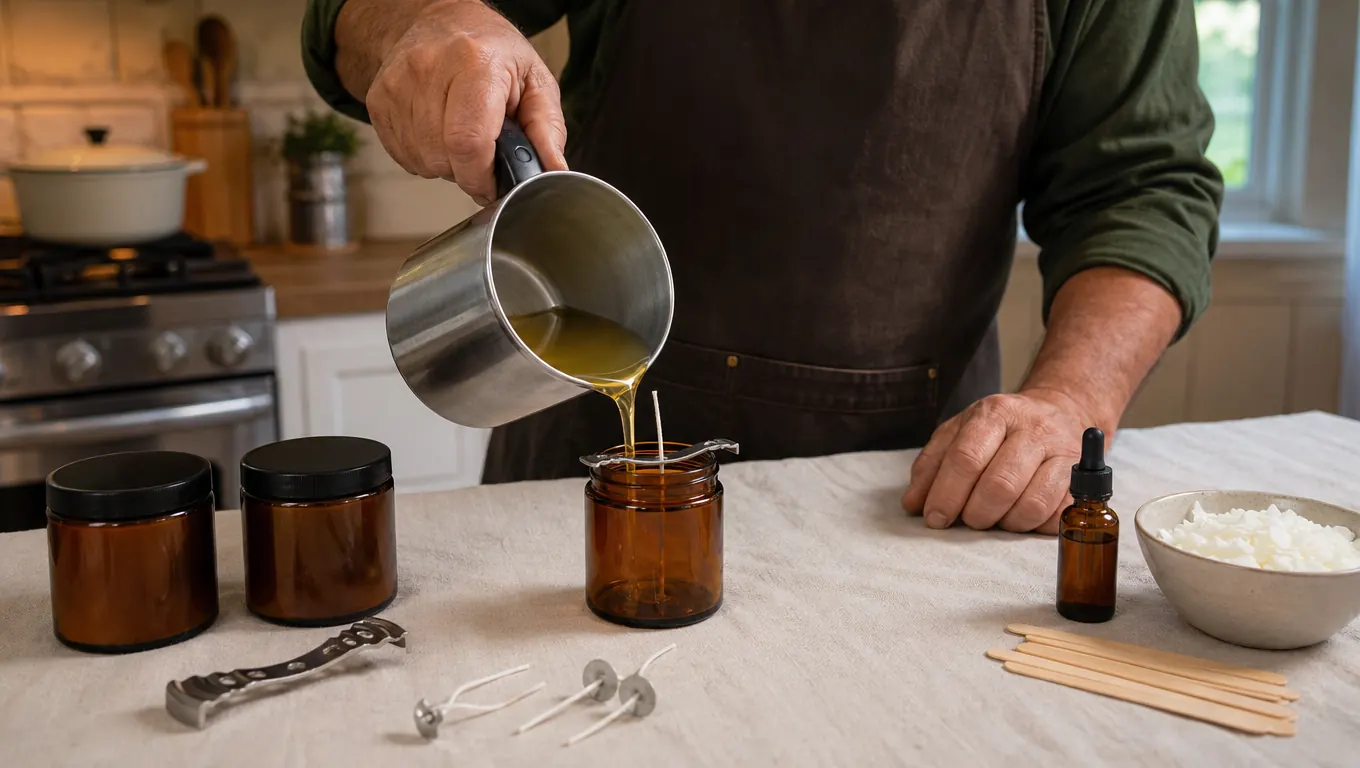
Put the tin cans into the pan of water and turn the heat to low. Soy wax melts slowly, and that is a feature, not a problem. I filled the cans about three quarters full, which left room for the scent and the dye and for the wax to move when I stirred it. The first time, I turned the heat up to hurry it along, and I ended up with wax that was too hot to pour comfortably and a skin forming on top. Low and slow, every time.
You will know the wax is ready when it is fully liquid and clear, with no cloudy lumps floating in it. I stirred it with the butter knife, which I wiped clean between cans. If you are doing more than one can, melt them at the same time so the color and scent match across the batch. That is the difference between a set of candles that looks like a set and a set that looks like leftovers.
One more thing about melting: do not walk away. The water bath keeps the wax from scorching, but it does not keep the pan from boiling dry if you leave it too long. I set a kitchen timer for ten minutes and checked the cans every time it rang. Candles are a good project for a morning when you can stay in the room and enjoy the slow part.
Step 3: Add Scent and Color a Little at a Time
This is where the kit shines, because you have seven fragrance oils and ten dye blocks to play with. My first pour was vanilla, just a few drops of oil in the melted wax, and I was surprised at how much scent it took. I had expected to dump in half the bottle, the way you do with a store-bought fragrance. A few drops filled the whole room. Start small, stir, and sniff the air above the can. You can always add more, but you cannot take it back out.
The dye blocks are the same story. I shaved off a sliver with the butter knife, stirred it in, and watched the wax turn a soft cream. One sliver of a block went further than I expected, and it was easy to keep adding until I got the shade I wanted. The ten blocks mean you are not stuck with one scent and one color. You can mix the oils and the dyes to make a batch that matches your living room or your gift list.
If you are making candles as gifts, this is the step where you write down what you used. I keep a notebook in the craft room, and after the first batch I wrote "vanilla, 4 drops, one sliver of cream dye, two cans of wax." The next batch came out exactly the same. That notebook is the difference between a happy accident and a recipe you can repeat.
Step 4: Glue the Wicks and Get the Jars Ready
While the wax melted, I glued the wicks into the jars. The kit includes the wicks and the glue, and this step is the one you want to do before you pour, not after. I squeezed a small circle of glue onto the metal tab at the bottom of each wick, pressed it into the center of the jar, and held it for a few seconds until it set. Then I wrapped the loose end of the wick around a pencil to keep it standing straight while I poured. That pencil trick is worth remembering.
Here is the mistake I made the first time: I glued the wicks in while the jars sat flat on the table, and then I poured the wax and the wicks drifted off to the side. The second batch, I taped the wicks to a pencil laid across the jar mouth, so they stayed dead center. Your wick does not have to be perfect, but it has to be straight enough that the flame does not burn down one side of the candle. Center it, and you will not be fishing wicks out of melted wax.
Step 5: Pour, Wait, and Label
When the wax was fully melted, scented, and colored, I poured it into the jars, leaving about a half inch at the top. I poured slowly, in a thin stream, because pouring fast makes bubbles, and bubbles are the one thing that makes a homemade candle look homemade. If you do get bubbles, pop them with a toothpick before the wax sets. I set the jars on the folded towel to cool, out of Biscuit's reach, and left them alone overnight. That is the hard part, the waiting.
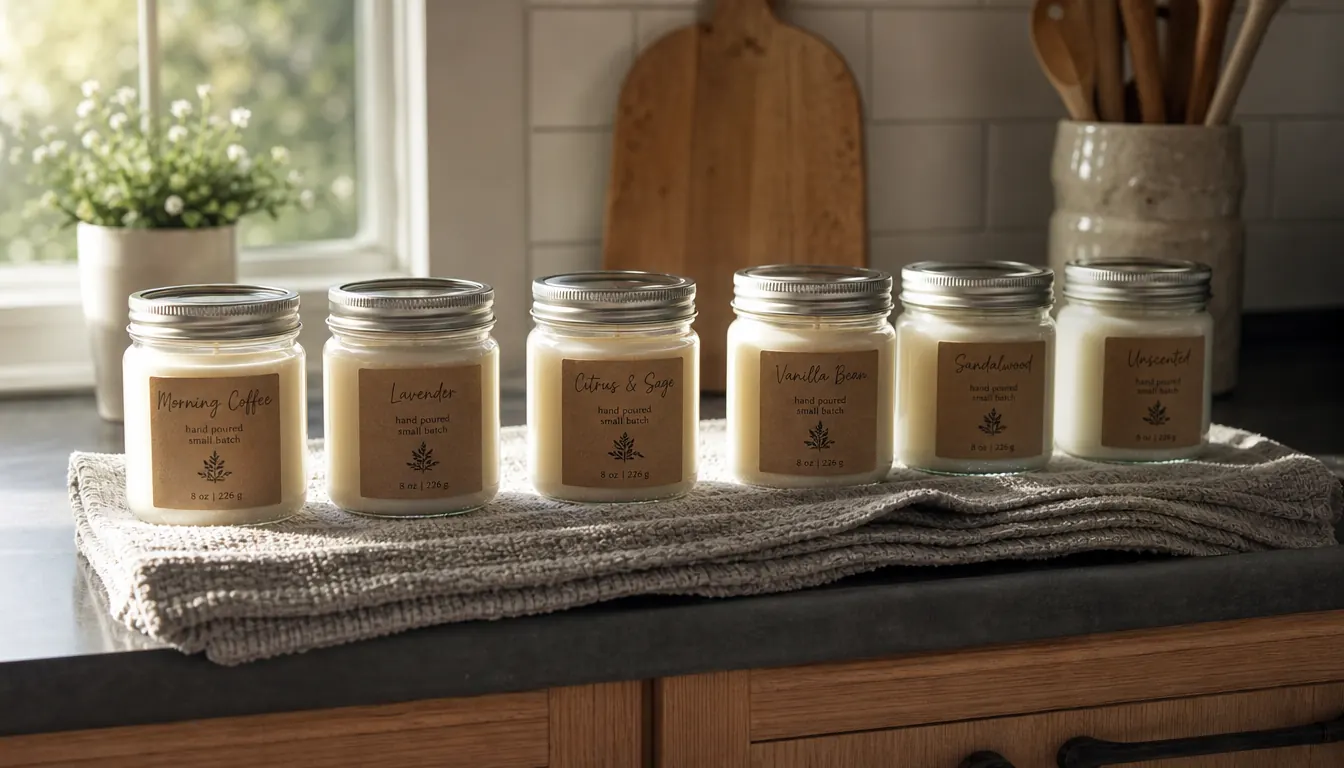
The next morning, the wax had set smooth and the labels from the kit went on straight. I trimmed the wicks to about a quarter inch, which is the length that lights easily and burns clean. The first candle I lit burned for a solid evening, and the scent was still there the next day. That is the moment I stopped thinking of candles as a store-bought thing.
I have since poured three more batches: one for the kitchen windowsill, one for my sister, and one that is earmarked for the church bazaar in December. Each batch got a little easier, and the last one took about an hour from setup to labels. That is the other thing nobody tells you about candle making. The first one is a project. The third one is just an afternoon.
The whole first batch took me about an hour and a half from opening the box to lighting the first candle, and the only thing I added was a pan of water from the kitchen.
What Else Helps
A few things I learned after the first batch. Let the candles cure for a day or two before you light them. The wax sets faster than it cures, and a candle that has rested burns more evenly. Keep the tin cans and wash them out while the wax is still warm, because cold wax is a chore to remove. And if you are giving these as gifts, pour them a few weeks ahead so the scent has time to settle into the wax.
The SoftOwl kit makes all of this easy because it comes with everything, including the labels, so the only thing you have to add is time and a ribbon if you are feeling fancy. It is also a lovely gift for a teenager or a senior who needs a project that does not require a lot of setup. SoftOwl lists the kit for everyone from teen girls to seniors, and after using it, I believe it. The one-year warranty is a nice safety net for a gift, too.
I will also tell you who this kit is not for, because that is the honest part. If you already own a melting pot, a thermometer, and a shelf of fragrance oils, you can buy supplies separately and you probably already do. The SoftOwl kit is for the rest of us: the people who want to make a real candle without a second shopping trip. If that sounds like you, this is the rare kit that actually has everything in the box.
If you have been thinking about trying candles but kept putting it off because it looked like a production, this is your sign. The kit does the thinking, the tin cans do the melting, and the worst thing that can happen is you make a candle that leans a little to the left. That is exactly what my first one did, and it still burned fine and smelled wonderful. Pour your first batch on a morning when you have nowhere to be, put the dog in the other room, and give yourself the afternoon. You will be glad you did.
Start with the kit that has everything but the pan of water
The SoftOwl Candle Making Kit includes the soy wax, jars, tin cans, seven fragrance oils, ten dye blocks, wicks, glue, and labels you need to finish a full batch in one afternoon. Check today's price on Amazon.
Amazon Check Today's Price on Amazon →