
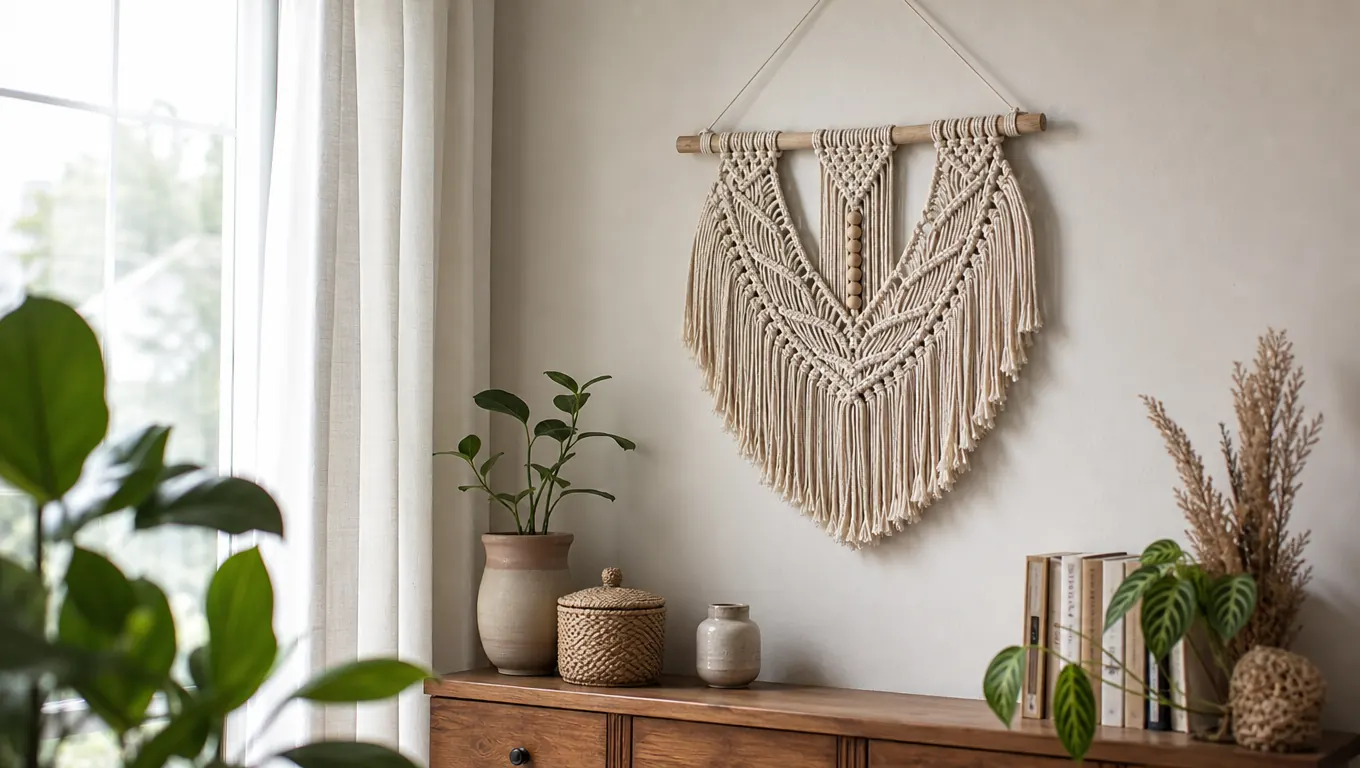
I have a confession: I bought the ZXCDINO 152pc Macrame Kit mostly because the price was right and the picture on the box looked like something I could actually hang in my living room. I am 58, I have been crafting for about 25 years, and I still buy kits the way I buy yarn: optimistically. The difference is that this one actually got finished, and it has been hanging above my dresser for three weeks now. If you have been eyeing the same kit and wondering whether you can turn it into a real wall hanging without watching forty videos first, the answer is yes. Here is exactly how I did it, including the parts that took me two tries.
Before we start, one honest note about what this kit is. It is a 152 piece set with one roll of 3mm by 220 yard natural cotton macrame cord, a macrame knot instruction manual, and beads. That is plenty of cord for one good-sized wall hanging, and the instruction manual covers 11 basic knots. It is not a kit that tells you which exact pattern to make. You are the designer. If that sounds like freedom, you will love it. If that sounds like too much deciding, keep reading anyway, because I am going to give you the simple five-step plan I used.
Start With the Kit That Has Enough Cord to Finish
The ZXCDINO 152pc Macrame Kit comes with a 220 yard roll of natural cotton cord, beads, and an 11-knot instruction manual, so you are not hunting for supplies halfway through. Check today's price on Amazon before you clear the kitchen table.
Amazon Check Today's Price on Amazon →Step 1: Set Up Your Workspace and Gather What the Kit Does Not Include
The kit gives you the cord, the beads, and the manual. It does not give you a dowel or a branch to hang your work from, scissors, a tape measure, or something to pin your cords to while you knot. I used a wooden dowel I already had from an old curtain rod project, but a straight branch from the yard works just as well and looks lovely. I also cleared the long folding table in my craft room, because macrame cord has a way of tangling around everything within reach, including Biscuit, who sleeps under the table and considers any dangling string a personal invitation.
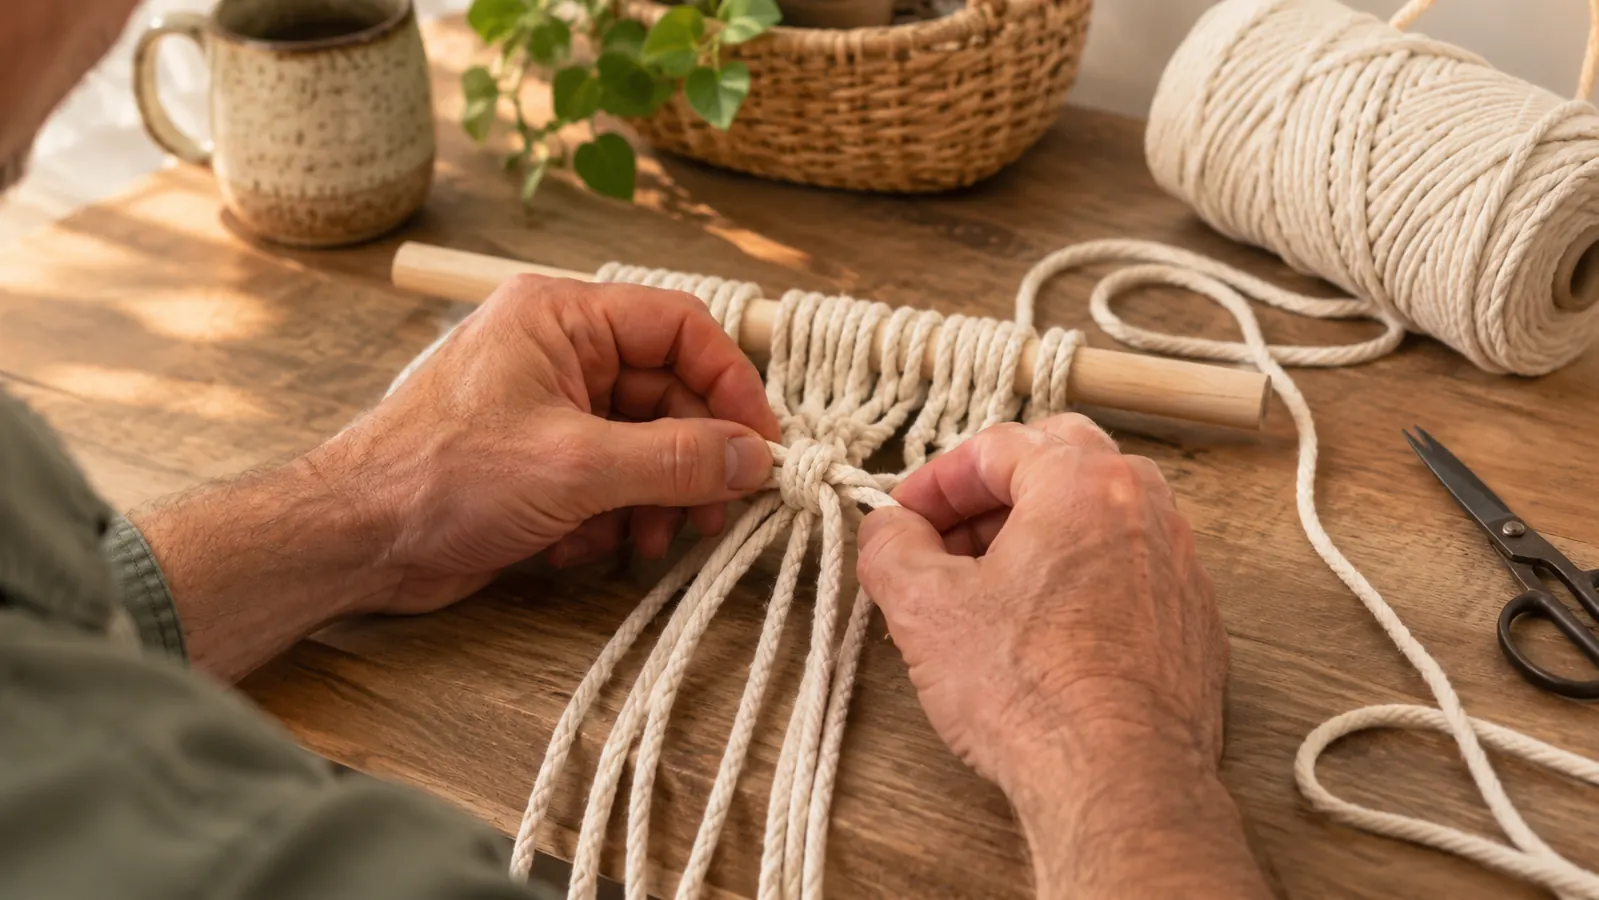
Here is the tip I wish someone had given me before my first attempt: cut your cord lengths before you start knotting, and tape the top ends to the dowel with a strip of painter's tape. The tape holds the cords in place while you work, and you can peel it off at the end. My first try, I just laid the cords over the dowel and they slid sideways every time I pulled a knot tight. The tape fixed that in about thirty seconds.
You also want a flat surface at a comfortable height. I stand at my folding table, but sitting works too. The knots in this kit are not hard on the hands, but you will be doing a lot of them, so do not start when you are already tired and cranky. This is a put-on-a-pot-of-tea project, not a power-through-it project.
Step 2: Learn the 11 Basic Knots From the Manual Before You Cut Anything
The instruction manual in the ZXCDINO kit covers 11 basic knots, and I cannot overstate how much easier the whole project is if you spend twenty minutes practicing them on short scraps before you commit to your real cords. I am someone who skips instructions, and I paid for it. My first attempt at a wall hanging looked like a fishing net made by a very tired seagull. The second attempt, after I actually sat down with the manual, looked like something I would hang in my house.
Start with the two knots you will use most: the square knot and the half hitch. The square knot is the one that holds two cords together, and the half hitch is the one that creates the little bumps and texture along the length of your hanging. Once those feel natural, the other knots in the manual are mostly variations on the same idea. You do not need to master all 11 before you start. You need to master two, and know that the other nine exist for when you want to get fancy.
The manual says the cord is made of natural cotton, and that description is accurate. It is soft, it unties easily when you make a mistake, and it has no smell. That last part matters to me because I keep my craft supplies in a spare bedroom and I do not want the room to smell like a craft store. The cord also does not seem to be dyed or bleached, which I like, because it means the occasional knot I had to undo did not leave a lighter spot on the cord.
Step 3: Cut Your Cords and Attach Them to the Dowel
For my wall hanging, I cut 24 cords, each about 6 feet long. That is a guess based on the size of the dowel and how full I wanted the finished piece to look, and it worked out well. If you want a wider hanging, cut more cords. If you want a narrower one, cut fewer. The kit's 220 yard roll gives you room to make mistakes, which I did, and still have plenty of cord left over for a second, smaller project.
Fold each cord in half, loop the folded end over the dowel, and pull the two loose ends through the loop. That is the lark's head knot, and it is the foundation of almost every macrame wall hanging you have ever admired. It takes about ten seconds once you have done it twice. Line the cords up snugly against each other so the dowel does not show through, and tape the top of each cord to the dowel as you go to keep them from sliding.
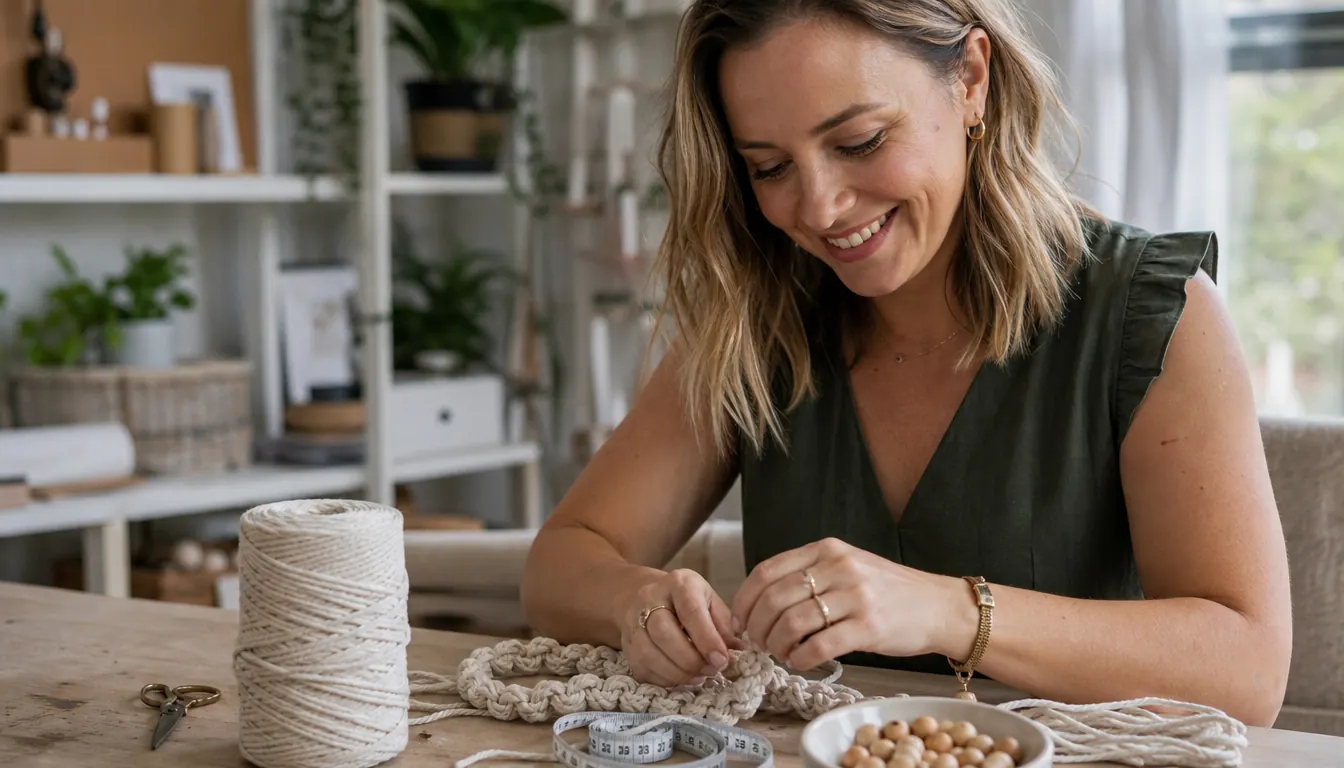
This is also the moment to think about the beads. The kit includes beads, and I found it easiest to thread a few onto the cords before I started knotting, because once you have a row of knots in place, getting a bead onto the right cord is fiddly. I put beads on about every third cord, at different heights, so they would land in the middle of the finished piece. You can also leave the beads off entirely and have a plainer hanging. The design is genuinely up to you.
Step 4: Knot in Rows, Working Left to Right, and Check Your Symmetry as You Go
Here is the method that saved my second attempt: work in rows, left to right, and tie the same knot across the whole row before you move down to the next row. My first attempt, I finished one cord all the way to the bottom before touching the next cord, and the result was a hanging where every cord was a slightly different length and the whole thing leaned like a fence post in soft ground.
Working in rows means you tie the first knot on cord one, then the same knot on cord two, then cord three, and so on across the dowel. When you reach the end, you start the next row. This keeps the knots at the same height across the whole piece, which is what gives a wall hanging that satisfying, even rhythm. It is also easier to fix a mistake when you catch it in the same row instead of discovering it twenty knots later.
Every couple of rows, step back and look at the piece from across the room. I cannot tell you why this works, but a wall hanging that looks fine up close will sometimes look lopsided from six feet away. I caught mine leaning right around row four and was able to adjust before it became a problem. Also, check the back of the piece occasionally. The front can look tidy while the back is a nest of loose ends, and you will have to deal with those ends eventually.
Step 5: Finish the Bottom Edge and Hang Your Work
When your knots reach the length you want, you have a few choices for the bottom edge. You can leave the cords loose and let them hang in a fringe, which is the easiest and looks great. You can tie a single knot in each cord to make a row of little bumps. Or you can braid the cords together in small groups. I did a simple fringe with a bead on a few of the cords, because I like the way the beads catch the light when the afternoon sun comes through the window.
Trim the bottom of the fringe with sharp scissors so the cords hang at a fairly even length. I say fairly because a perfectly straight bottom edge looks machine-made, and the slightly uneven fringe is part of the charm of a handmade piece. When you are happy with the bottom, peel off the painter's tape from the top, tie a piece of cord to each end of the dowel as a hanger, and step back to admire your work.
Hang it somewhere you will see it every day. I put mine above the dresser in the bedroom, and I have caught myself looking at it more than I expected. There is something quietly satisfying about knowing exactly which knots are in the row that catches the afternoon light, and that I made them myself.
What Else Helps
A few things made this project easier than it could have been. First, a pair of sharp scissors. Dull scissors crush cotton cord and make the ends fray, which makes the knots harder to tighten. Second, a tape measure. I used mine constantly, and not just for cutting the cords. I also measured the dowel, the space on the wall where I wanted the hanging to go, and the finished length I was aiming for. Third, patience with the first row. The first row of knots is the hardest because the cords are still loose and sliding around. It gets noticeably easier after that.
I also recommend keeping the instruction manual nearby even after you think you have memorized the knots. The ZXCDINO manual is a small booklet, and I referred back to it more than I expected, especially for the knots I only used once or twice. And if you have a dog like mine, keep the cords up off the floor. Biscuit has stolen more yarn from my craft room than I care to count, and a dangling macrame cord looks exactly like a toy to a beagle mix. I kept my work-in-progress hanging from the dowel on a hook between sessions, out of reach, and that saved me from starting over at least once.
I cut 24 cords, worked in rows, and had a wall hanging I was proud of by the end of the second afternoon. The kit's 220 yard roll gave me room to make mistakes and still finish.
Make Your Own Wall Hanging This Weekend
The ZXCDINO 152pc Macrame Kit has the cord, the beads, and the 11-knot manual you need to get started tonight. Check today's price on Amazon and clear the kitchen table.
Amazon Check Today's Price on Amazon →