
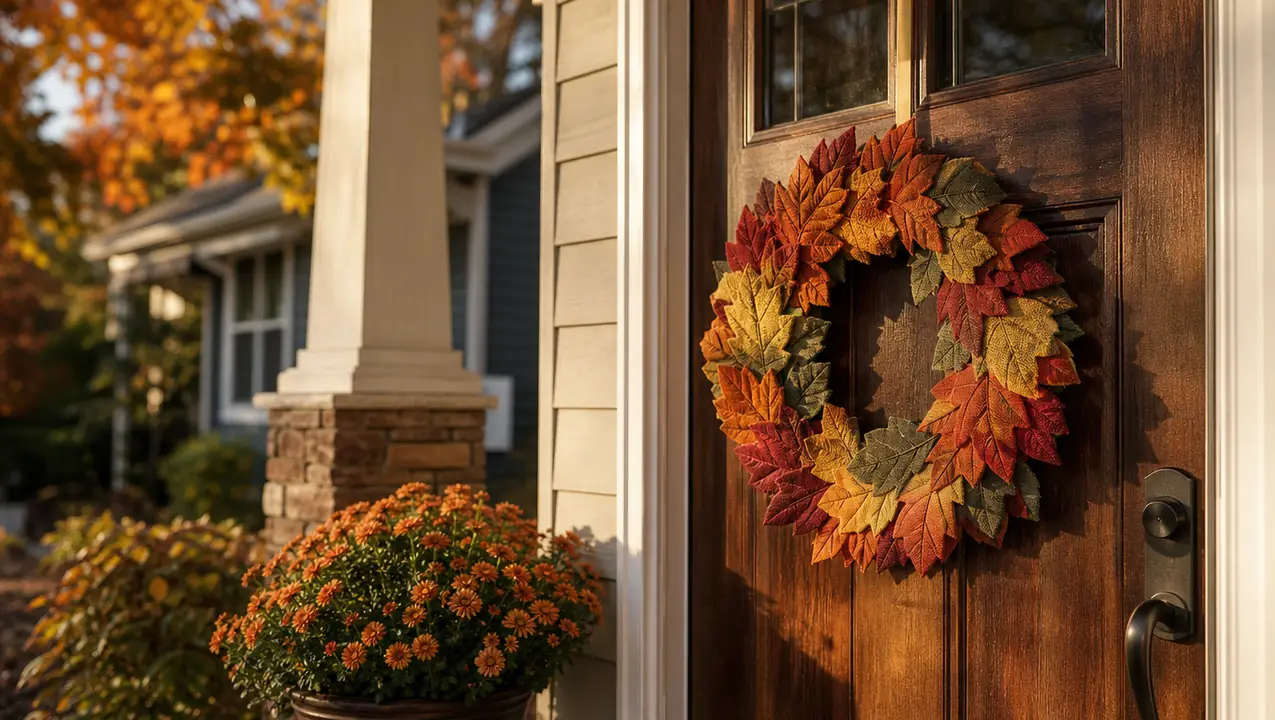
Every September I tell myself this is the year I buy a wreath at the craft store and call it done. And every September I end up standing in the wreath aisle doing the math on what a nice one costs, then putting it back and driving home to make my own. That is how I have ended up with a front door that looks like a magazine page for about a third of the price, and also how I have ended up with a hot glue gun that lives on my craft table all year instead of in a drawer.
The Gorilla Mini Hot Glue Gun is the one I reach for first. It is small, it heats up fast, and it has a dual temp switch so I can use low heat for fabric and foam and high heat when I need a stronger bond. If you have been thinking about making a fall wreath but the idea of wrestling with a full size glue gun and a tangle of wire has stopped you, this one is worth a close look. Here is exactly how I made my wreath, what surprised me, and what I would do differently next time.
Start with a glue gun that does not fight you
The Gorilla Mini Hot Glue Gun has two heat settings, so delicate fabric and foam get the gentle bond they need while heavier pieces still hold fast. It comes with 30 mini glue sticks to get you through your first project.
Amazon Check Today's Price on Amazon →Step 1: Gather your supplies and set up your station
You do not need much to make a fall wreath. I used a 12 inch foam wreath form from the craft store, about a yard of burlap ribbon, a bag of fabric leaves in rust, gold, and deep orange, and a handful of small pinecone picks. I bought everything on the first Saturday of September, when the fall stock is fresh and the good leaves have not been picked over. The bag of leaves held about forty pieces, and I used every one of them by the time I finished. I have learned to buy two bags when I find a color I love, because the store never carries the same shades twice. I also grabbed a pair of scissors, a roll of wax paper, and the Gorilla Mini Hot Glue Gun. The wax paper is the trick I wish someone had told me about twenty years ago: lay it down on your work surface before you start, and the glue drips peel right off instead of becoming part of the table.
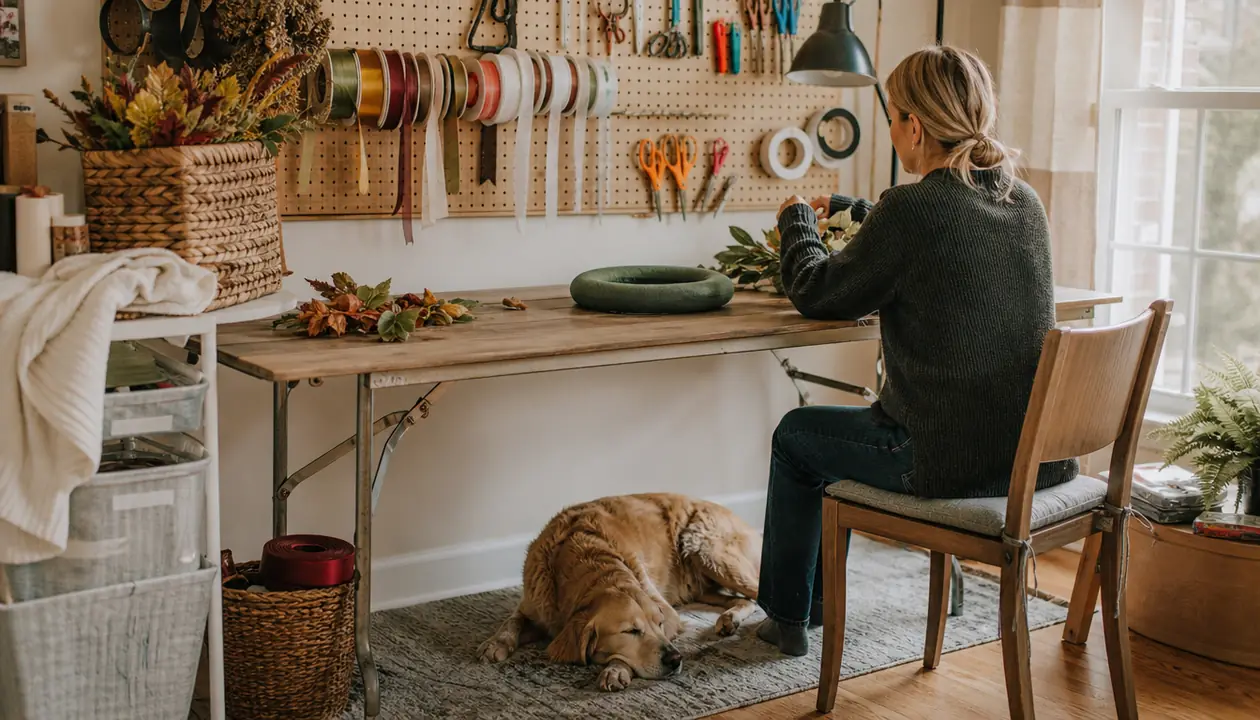
I set up at the folding table in my craft room with the window open a crack. The Gorilla Mini is corded, so I made sure the outlet was within reach and the cord was not stretched across the floor where Biscuit could trip over it. He likes to sleep under the table while I work, and he has learned that glue sticks are not chew toys, but I still keep them in the little cup holder on the table instead of on the floor.
One thing I checked before I started: the glue sticks that come with the gun are 4 inches long and about .27 inches in diameter, and they fit the mini gun perfectly. If you buy a bag of full size glue sticks by mistake, they will not fit. The package says it clearly, but I have made that exact mistake, so I am telling you now to save you the trip back to the store.
Step 2: Plan your wreath layout before you glue anything
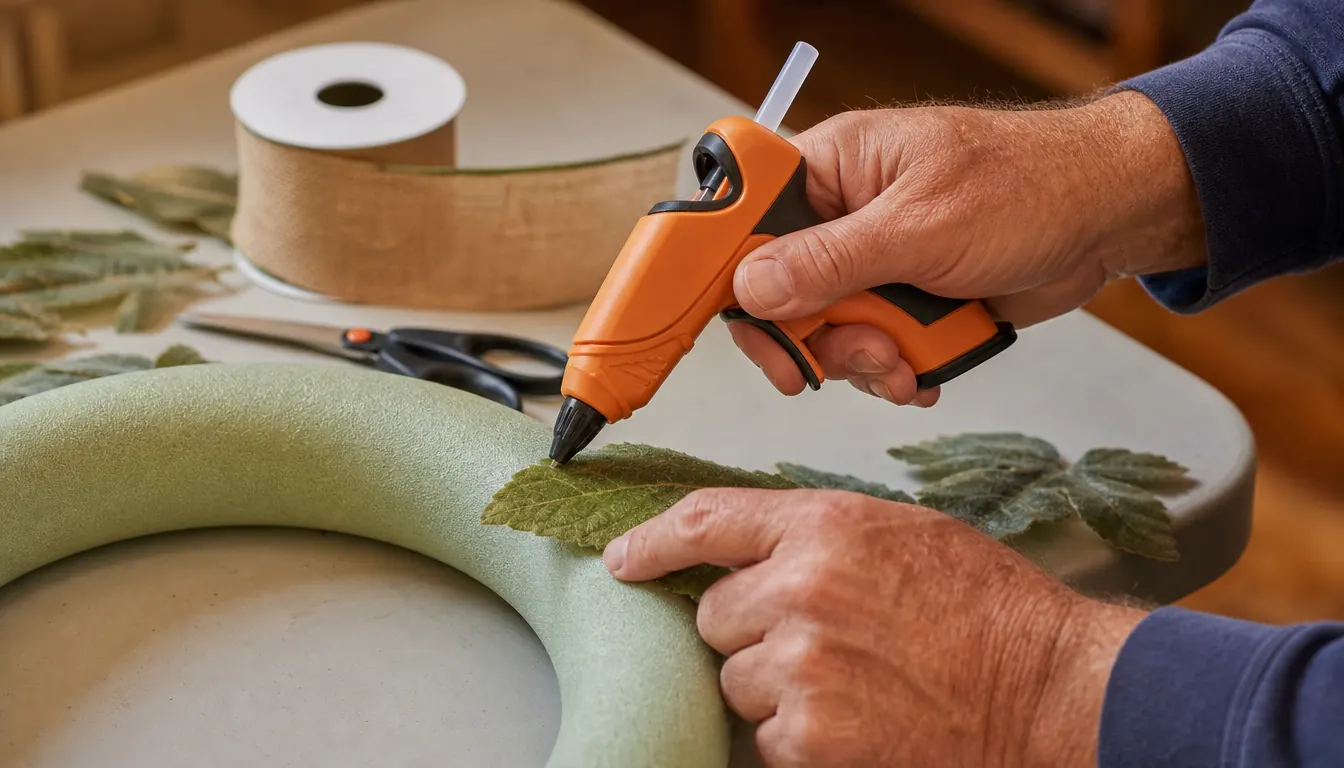
This is the step I used to skip, and it is the reason my first wreath looked like a pile of leaves that had been through a windstorm. That was three years ago, and I still remember taking it off the door in November with bare patches on both sides where the leaves had run out before I reached the top. Before I turned on the Gorilla Mini, I laid all my fabric leaves out on the foam form and arranged them the way I wanted them to sit. I started with the largest leaves at the bottom and worked my way around, overlapping each leaf about halfway over the one before it so no foam showed through. I counted the leaves as I placed them, forty in all, and that number told me I had enough to go all the way around. It took me about twenty minutes, and it saved me an hour of regluing later.
I also decided where the ribbon bow would go before I glued a single leaf. That matters more than you would think. If you add the bow at the end, you end up gluing it on top of leaves that are already set, and it sits too high and looks like an afterthought. By marking the top spot with a tiny piece of painter's tape, I knew exactly where to leave a small gap in the leaves for the bow to nestle into.
Once I was happy with the layout, I took a photo with my phone so I could reference it while I worked. That sounds fussy, but when you are gluing leaf number thirty, it is easy to forget which direction the first ones were facing. The photo kept me honest and the finished wreath looked intentional instead of accidental.
Step 3: Glue the leaves in small sections, not all at once
Here is where the Gorilla Mini earned its place on my table. The dual temp switch lets me set it to low heat for fabric and foam, which is exactly what a fall wreath needs. On low, the glue stays workable for about 45 seconds, which is plenty of time to press a leaf into place and hold it for a few seconds while it sets. On high, the bond is stronger and dries faster, but I save that for heavier pieces like the pinecone picks.
I worked in small sections of about four leaves at a time. I would apply a thin line of glue to the back of a leaf, press it onto the foam form, and hold it for about ten seconds. The glue from the Gorilla Mini is weather resistant, which matters for a wreath that is going to live on a front door where it will see rain, wind, and the occasional 40 degree morning. I did not have to worry about my leaves peeling off the first time the weather turned.
The one mistake I made the first time was using too much glue. A little line is enough. When I glopped it on thick, it oozed out the sides of the leaf and left hard white spots that showed against the dark fabric. I remember the exact leaf, a rust colored one on the lower left, that I had to peel off and redo because the glue had squeezed out around all three points. It took me ten minutes to pick the dried glue off the back without tearing the fabric, and I nearly threw the whole project in the trash. The fix was simple once I slowed down: a thin line down the center of the leaf, pressed and held, nothing more. The second time around I used about half as much glue and the wreath looked cleaner and more professional. Less really is more with a glue gun.
Step 4: Add the bow and the pinecone picks
When all the leaves were set and the glue had cooled, I made my bow. I used the burlap ribbon and tied a simple loop bow, the kind where you make two loops and cross them, nothing fancy. I put a line of glue on the back of the bow and pressed it into the gap I had left at the top of the wreath. The Gorilla Mini handled the burlap fine on the low setting, and the bow has stayed put through three months of door duty.
The pinecone picks went in next. These are heavier than the leaves, so I switched the Gorilla Mini to high heat and used a slightly thicker line of glue on the stem of each pick. I tucked them in at an angle so they fanned out a little, three on one side and two on the other. The high heat setting made a bond that has not budged, and the picks give the wreath some texture and height.
I let the whole wreath sit flat on the table for about an hour before I hung it. That gave every bond time to cure completely. I know it is tempting to hang it right away because you are excited, but that hour of patience is the difference between a wreath that lasts the season and one that sheds leaves on your porch the first windy day.
Step 5: Hang it, step back, and enjoy the one you made
I hung my wreath on the front door with a simple wire wreath hanger that hooks over the top of the door. It has been up since the last week of September, through rainstorms, a surprise October snow that started on the 14th and stayed on the ground for two days, and the kind of wind that rattles the windows in our 1960s ranch. On Halloween night I checked it between trick-or-treaters and not one leaf had moved. Ron said I was being silly, but he was the one who came in from getting the mail on a windy afternoon to tell me the wreath had not budged. That is the part that still surprises me, because I half expected to be picking fabric leaves off the porch by Thanksgiving. I checked it again after the first hard frost in mid November, just to be sure, and it was still solid. Now it is almost Thanksgiving, and I have finally stopped checking.
The best compliment came from my neighbor Carol, who asked where I bought it. When I told her I made it with a hot glue gun and a bag of leaves from the craft store, she did not believe me at first. That is the moment that makes the whole project worth it. Store bought wreaths are lovely, but there is something different about opening your own front door to a wreath you made yourself.
I have made two more wreaths since then, one for my daughter's front door and one for the church bazaar in December. Each one got a little faster and a little neater. The Gorilla Mini has paid for itself many times over, and it takes up almost no room on my pegboard wall when it is not in use.
What Else Helps
A few things made this project easier than it could have been. The wax paper on the work surface saved my table from glue drips. A small cup or jar to hold the glue sticks upright keeps them from rolling off the table and onto the floor, where they look exactly like something a beagle mix would want to investigate. And a damp paper towel within reach means you can wipe a stray drip off your fingers before it sets. None of these are fancy, but they are the difference between a pleasant afternoon and a sticky mess.
I also learned that the Gorilla Mini works on more than wreaths. The package lists foam, glass, metal, plastic, and wood as compatible materials, so I have used it to repair a cracked picture frame, reattach a loose cabinet knob, and glue the felt back onto a set of chair leg pads. For a 12 watt tool that costs less than a dinner out, it has been one of the most useful things in my craft room.
The dual temp switch is the whole reason this wreath still has all its leaves after three months on the front door. Low heat for the fabric, high heat for the pinecones, and every bond has held.
Make this year's wreath instead of buying it
The Gorilla Mini Hot Glue Gun comes with 30 glue sticks and a dual temp switch, so it is ready for fabric, foam, and everything else your projects throw at it.
Amazon Check Today's Price on Amazon →